At some point every expat does the maths on their biltong habit and goes quiet. Good biltong costs what it costs because you are paying for two kilograms of beef and days of drying time in every kilogram of the finished thing. The good news is that the process behind it is centuries old, needs no special skill, and works beautifully with Australian beef. This is the full guide to how to make biltong at home in Australia: the cut to ask your butcher for, a traditional cure you can mix from supermarket spices, and the part that matters most here, drying it safely in a climate that ranges from Perth-dry to Brisbane-steamy.
For anyone new here: biltong is South African air-dried beef, cured in vinegar, salt, coriander and pepper, then hung to dry slowly for days. It is not jerky, which is cooked fast with heat and usually sugar. We have settled that argument, and a few others, in our braai vs bbq piece.
Table of Contents
The beef: what to ask your butcher for
Start with a lean cut that slices cleanly along the grain. Topside is the traditional choice and the one to ask for first; silverside and rump both work well too. In Australia you are spoilt here, because the beef is excellent and easy to judge: look for the Meat Standards Australia grading, the independent eating-quality system run by Meat & Livestock Australia, and you know the raw material is properly vetted before you spend days drying it.
Buy more than you think you need. A rough rule from generations of biltong makers is that meat loses around half its weight as it dries, so two kilograms of topside becomes about one kilogram of biltong. Ask the butcher to leave a thin fat cap on one side if you like traditional biltong with a rim of fat, or have it trimmed lean if you prefer.
Cut the meat into strips along the grain, about two centimetres thick and as long as the cut allows. Thicker strips take longer and stay moister in the middle; thinner strips dry faster and harder.
The cure: salt, vinegar, coriander, patience
The flavour of biltong is four ingredients and restraint. For each kilogram of beef, a traditional starting point looks like this:
- 20 to 25 grams of coarse salt
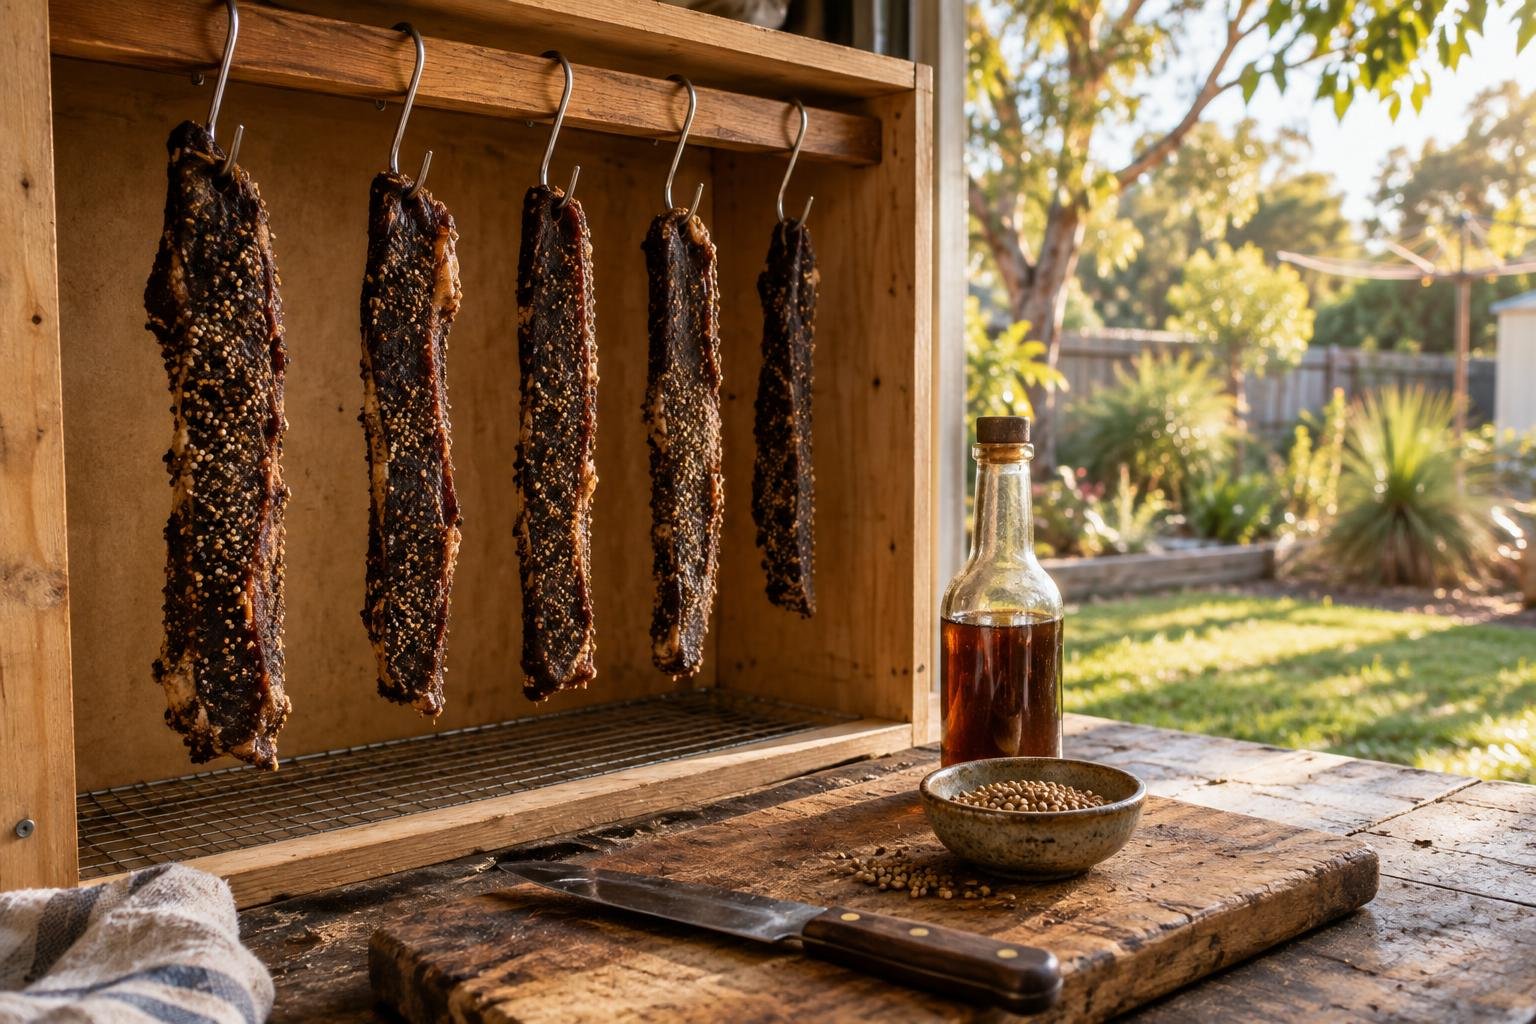
- 15 to 20 grams of whole coriander seeds, toasted in a dry pan and roughly crushed
- 2 to 3 grams of coarsely ground black pepper
- 60 to 100 millilitres of brown vinegar
- Optional: a spoon of brown sugar to round the edges, though purists will tut
Rub the strips all over with the salt, spice and sugar mix, lay them in a non-metallic dish, and splash over the vinegar. Cover and rest in the fridge for 12 to 24 hours, turning the strips halfway so the cure reaches everything. The vinegar and salt are not just seasoning; they are the traditional preservative team that makes the meat inhospitable to the wrong microbes while it dries.
Some makers dunk the cured strips briefly in a vinegar and water mix before hanging, which rinses off excess salt and lays down one more layer of protection. Optional, but a good habit in humid areas.
How to make biltong at home in Australia, step by step
Here is the whole method in one place:
- Slice 2 kg of topside along the grain into strips about 2 cm thick.
- Toast and crush the coriander, then mix it with the salt, pepper and sugar if using.
- Rub the strips with the spice mix, splash with brown vinegar, cover and cure in the fridge for 12 to 24 hours, turning once.
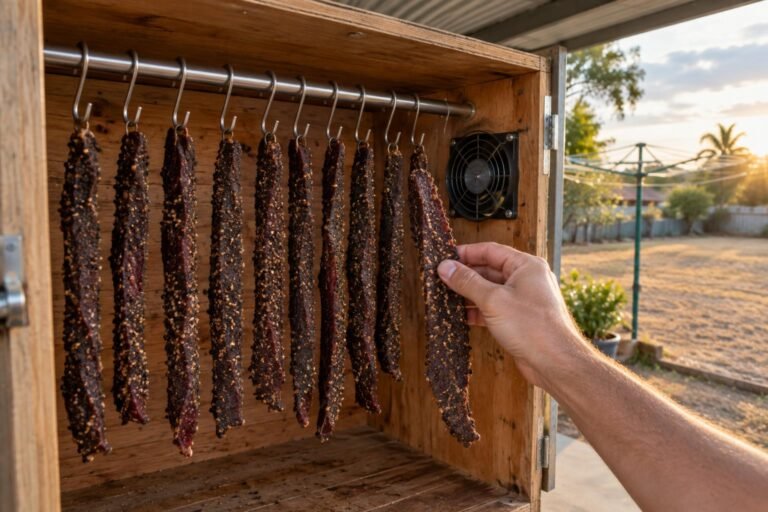
- Pat the strips dry. Hang each one from a clean stainless steel hook or food-grade string, with a finger’s width of space between strips so air can move around every side.
- Dry in a well-ventilated spot with a fan moving air past the meat, out of reach of insects and humidity. A purpose-built or homemade biltong box makes this easy.
- Wait three to six days depending on thickness and climate, then test. Ready biltong feels firm with a little give in the centre and has lost around half its starting weight.
Weighing a strip before it goes up, and again when you think it is done, is the single most useful habit in home biltong making. Kitchen scale, note on the fridge, done.
Drying in the Australian climate
This is where an Australian biltong maker earns their stripes, because the country does not have one climate. What dries perfectly in a Perth or Adelaide garage can grow a science experiment in a Brisbane one. The enemy is not heat or cold; it is still, damp air.
The traditional setup is a biltong box: any ventilated cabinet with hooks at the top, a small fan to keep air moving, and gentle warmth from a low-wattage bulb. It does not need to be pretty. Plenty of fine biltong has come out of a modified cardboard box with a computer fan, though a wooden or plastic cabinet is easier to keep clean. The box’s job is simply to hold the conditions steady: dry moving air, mild warmth, no insects.
If you are drying in the open air of a pantry, garage or laundry, check your local humidity first. The Bureau of Meteorology publishes long-term humidity averages for every part of the country on its climate data pages, and they tell you what you are up against. Dry inland and southern areas can often get away with open-air drying for much of the year. In coastal Queensland and the tropical north, treat a fan as non-negotiable and a box as very close to it, and favour the drier winter months for your first batch.
Food safety, without the panic
People have made biltong without refrigeration for a few hundred years, so this is not a dangerous hobby. It does deserve respect, though, because you are keeping raw meat at room temperature on purpose, and the salt, vinegar and drying are what keep it safe.
For commercially sold dried meat, Food Standards Australia New Zealand requires drying to a water activity of 0.85 or lower, the level at which the bacteria of concern stop growing; their published risk assessment of uncooked dried meats is worth a skim if you want the science. You will not measure water activity at home, and you do not need to. Weight loss is the home maker’s honest stand-in: at around half its starting weight, with a proper salt and vinegar cure, biltong sits in safe traditional territory.
The practical rules are simple. Keep everything clean, hang strips so they never touch, keep the air moving, and do not skimp on the cure. If you ever see fuzzy green or black mould, that strip is a loss; do not slice around it. A light white bloom on very dry biltong is a different, harmless thing, but if you are unsure, the bin is cheaper than a bad week.
Wet, dry, or somewhere in between
When the biltong reaches the texture you like, take it down, slice it across the grain with a sharp knife, and try not to eat all of it standing at the bench. Wetter biltong, around 40 percent weight loss, is tender and rich but belongs in the fridge and should be eaten within days. Drier biltong keeps happily in a paper bag in the pantry, where it can breathe; sealed plastic traps moisture and invites the mould you just worked to avoid.
If your first batch is not perfect, welcome to the club. Too salty means less salt or a vinegar rinse next time; too dry means take it down a day earlier; case-hardened outside with a raw middle means your air was too hot and fast, so slow it down. Every batch teaches the next one.
Frequently asked questions
Q: How long does it take to make biltong at home in Australia?
A: Count on one day of curing and three to six days of drying, so about a week from butcher to board. Thicker strips, cooler weather and humid air all add time; a box with a fan shortens it. Judge by feel and weight loss, not the calendar.
Q: Do I need a biltong box, or can I just hang it in the pantry?
A: In dry parts of the country, a well-ventilated room and an insect-proof space can be enough. Anywhere humid, a simple box with a fan is the difference between biltong and disappointment. Even in dry areas, a box gives you the same result in any season.
Q: What is the best beef cut for making biltong in Australia?
A: Topside is the traditional pick and widely available from any Australian butcher. Silverside and rump are close seconds. Choose a lean cut that slices along the grain, and decide up front whether you want a fat cap or fully trimmed strips.
Q: Is home-made biltong safe to eat?
A: Yes, when you respect the method. The salt and vinegar cure, spacing between strips, moving air and proper weight loss are each doing a safety job, not just a flavour one. If a strip grows green or black mould or smells wrong, discard it rather than trimming it.
Your first batch starts this weekend
Biltong making asks for one shopping trip, twenty minutes of knife work and a few days of patience, and it repays you with the smell of coriander and vinegar filling the garage like a message from home. Buy the topside, mix the cure, hang the strips, and weigh as you go. While the first batch dries, find your nearest South African shop in our state-by-state directory and buy a packet of the professional stuff to benchmark against. Beating the shops on your second batch is allowed, encouraged, and frankly expected.