Nobody is born knowing how to do this. If you have inherited a three legged pot from an uncle, or bought one on a wave of homesickness and then left it in the shed, this potjiekos recipe for beginners is the one to start with. Potjiekos, said roughly poy-key-koss, is Afrikaans for “small pot food”: meat and vegetables layered into a cast iron pot with three legs, set over coals, and left alone for hours while everyone else stands around the fire lying about work. The cooking is easy. The hard part is doing nothing, which is a skill Australians and South Africans both have to learn the hard way.
Table of Contents
What a potjie actually is, and what it is not
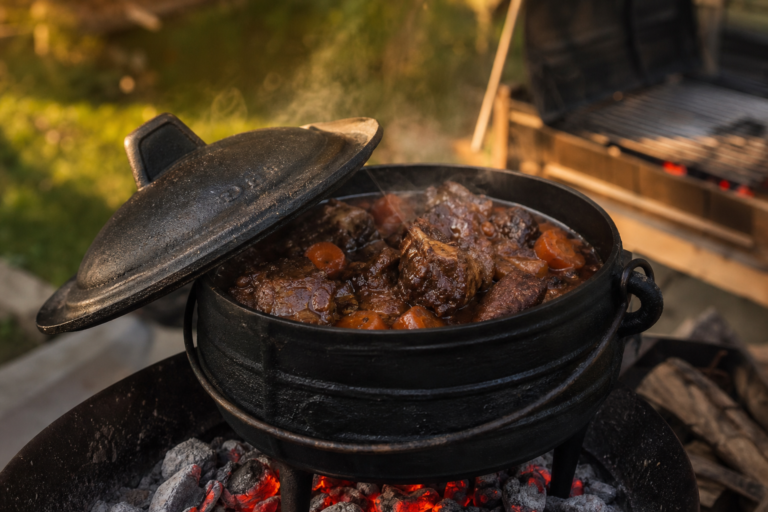
A potjie is the pot. Potjiekos is what comes out of it. The pot is cast iron with a heavy lid and three stubby legs, so it stands directly on coals without a grid underneath. Those legs are the whole point. They hold the base a set distance above the heat, which is how the pot holds a lazy simmer for four hours without you fiddling with it.
It is not a stew, even though it looks like one on the plate. A stew is stirred, so everything merges. A potjie is layered and left, so the meat sits in its own juices at the bottom while the vegetables steam above it and keep their shape. It is not a camp oven either, though the two get confused constantly in Australia. If you have not bought your pot yet, our potjie pot guide for Australia covers the size numbers, the camp oven difference and where to actually find one here.
What you need before you light anything
Keep the shopping list short for the first attempt.
- A number 3 potjie, which feeds roughly six people. Anything smaller struggles to hold heat.
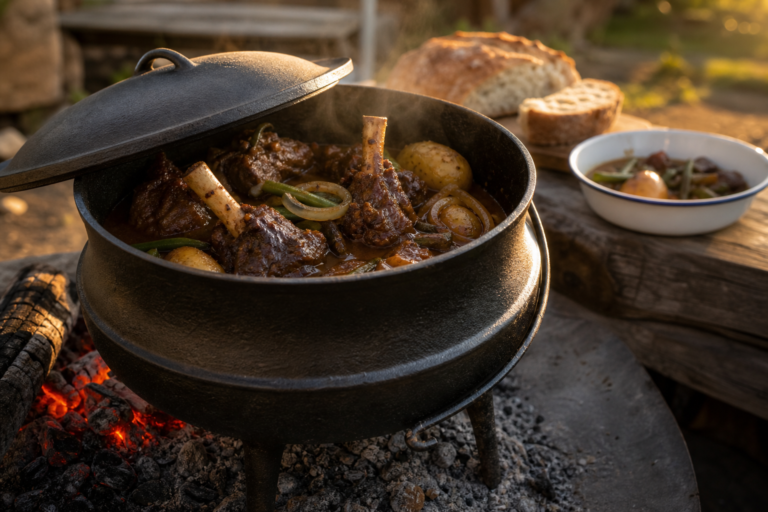
- About 1.2 kg of lamb neck, cut into thick pieces on the bone. Lamb neck is the forgiving cut: cheap, full of connective tissue, and almost impossible to ruin over a long slow cook. Chuck steak or beef shin work the same way.
- Two large onions, four carrots, four medium potatoes, a handful of green beans.
- Two tablespoons of oil, salt, black pepper, a bay leaf.
- A cup of stock or water. One cup. Write it on your hand.
- Charcoal or hardwood, and enough of it to keep going for four hours.
If your pot is brand new and oil cured rather than enamelled, season it before its first cook. Best Duty, who have been casting potjies in South Africa since the 1980s, explain the process on their own guide to seasoning cast iron cookware: wash by hand, dry completely, buff on a thin layer of vegetable oil, then bake it until the oil polymerises into a hard protective skin. Skip that step and your first potjie will taste faintly of shed.
The fire comes first
Light your fire and then go and do something else for forty minutes. You are waiting for flames to disappear entirely and for a bed of coals to settle under a coat of grey ash. A potjie never sits over naked flame. Flame scorches the base, the bottom layer catches, and the whole pot tastes of it.
You want fewer coals than instinct suggests. A potjie needs a low, steady heat, roughly what you would call a gentle simmer on a stovetop. If you can hold your hand at grid height for five or six seconds, you are close. Once cooking starts you top the coals up in small handfuls rather than shovelling on a fresh load.
Before you light anything at all, check what you are allowed to burn. Fire restrictions in Australia change by state, by council and by day, and a solid fuel fire in a backyard is not always legal on the day you fancy one. Our guide to braai fire rules in Australia, state by state is worth five minutes of your time before you are standing there with a bag of charcoal and an opinion.
The potjiekos recipe for beginners, in order
Here is the whole thing. Read it once before you start so you are not squinting at your phone with greasy hands.
One. Brown the meat. Set the empty potjie on the coals, add the oil, and let it get properly hot. Brown the lamb in batches so the pieces are not crowded, turning until each one has real colour on at least two sides. This is the only stage that needs your attention, and it takes about fifteen minutes. Lift the browned meat out into a bowl as you go.
Two. Soften the onions. Tip the sliced onions into the same pot and let them go soft and golden in the fat left behind. Five minutes, no rush.
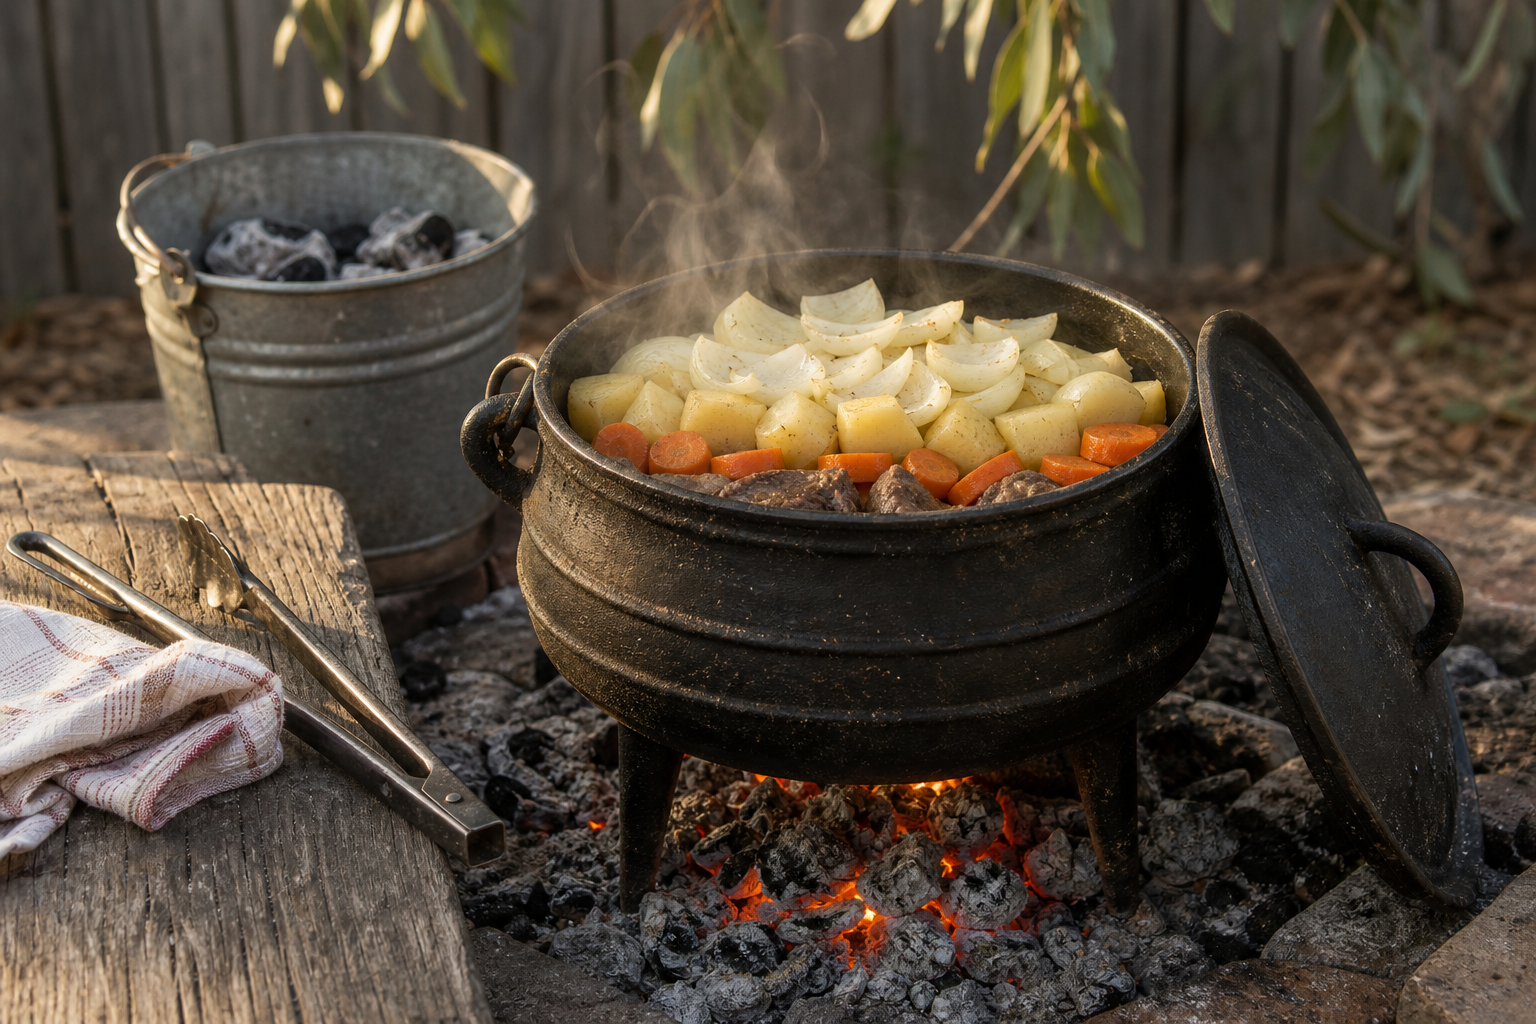
Three. Return the meat and start the layers. Put the lamb back in on top of the onions. Add the bay leaf, a good pinch of salt and plenty of black pepper. Now layer the vegetables on top of the meat in the order they need to cook: carrots first, then potatoes, then green beans on top. Do not mix them in. The bands you can see in the pot are exactly what you want.
Four. Add one cup of liquid, and no more. Pour the stock down the side of the pot rather than over the top. The vegetables will release plenty of their own moisture. This is where most first attempts go wrong, and it is why the shortest useful potjiekos recipe for beginners is simply “less water than you think”.
Five. Lid on. Walk away. Three to four hours for lamb neck. Lift the lid twice at most, briefly, to check that the pot is steaming rather than galloping. If it sounds like it is frying, pull a couple of coals out. If nothing is happening, add a small handful.
Six. Do not stir. Not once. Stirring collapses the layers, breaks up the potatoes and turns your potjie into a rather good stew, which is a different dinner entirely. If you want the flavours to meet, hold the pot handle with a glove and give the whole thing a gentle shake instead.
Seven. Check it is done, then thicken if you want. The meat should slide off the bone with a fork. Because this is bone-in lamb rather than mince, whole-cut rules apply, but if you are ever cooking a potjie with sausage or minced meat in it, Food Standards Australia New Zealand recommends cooking minced or rolled meat to at least 75 degrees Celsius in the centre, and 70 degrees is the general benchmark for everything else. A thermometer costs less than the lamb. If the sauce is thinner than you like, take the lid off for the last twenty minutes.
Five things that catch beginners out
- Too much liquid. A potjie is not soup. If you can see the vegetables swimming, you have already overshot.
- Too much fire. Aggressive steam and a frying smell mean the base is catching. Remove coals, do not add water.
- Stirring. Say it with me. The layers are the recipe.
- Rushing the browning. Grey meat gives you a grey potjie. Colour is flavour, and it is the one stage worth being fussy about.
- Salting only at the end. Season the meat layer as you build it, then taste and adjust before serving.
What to serve with it
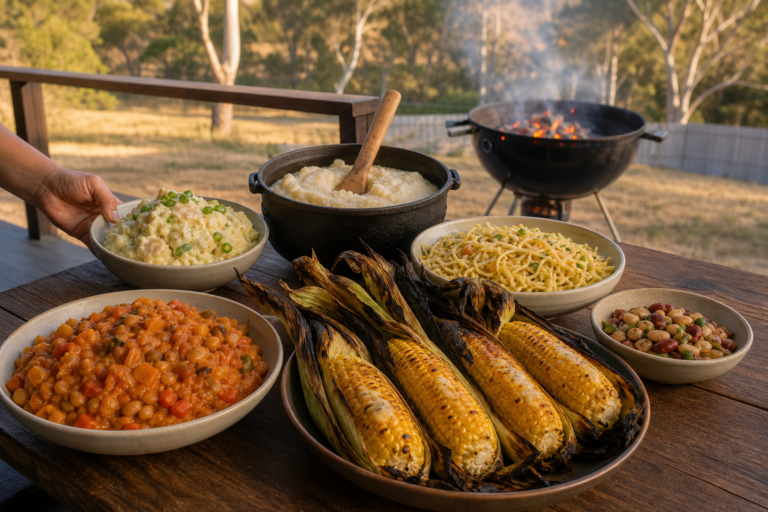
Rice, pap, or a loaf of bread torn up and passed around. Something to mop with, in other words. A bowl of chutney on the side is traditional, and if you are still hunting for the real thing in an Australian supermarket, our guide to South African ingredient substitutes in Australia tells you what works and what only pretends to. For the ingredients that no substitute quite covers, the South African shops directory lists who stocks what, state by state.
Where to go once you have done it once
The method above is the whole trick, and every other potjie is a variation on it. When you are ready to move on, the five ingredient potjie strips the technique back even further, with no added liquid at all. When you want to show off, the oxtail and red wine potjie is four hours of the best kind of patience.
And if you are still deciding whether any of this is worth the effort compared to firing up the gas, we settled that argument in braai vs bbq. Briefly: a potjie is not competing with a barbecue. It is competing with your afternoon, and it wins.
Frequently asked questions
How long does a beginner potjie take?
Allow four hours from lighting the fire, of which about three are hands off. Lamb neck and beef shin are ready at three to four hours; leaner cuts will be dry long before the vegetables are right.
Can I make potjiekos on a gas braai or a stovetop?
You can, and it will taste good, but the legs will not be doing their job. On gas, use the lowest setting and a heat diffuser. Indoors, treat it as a casserole and use the oven at 150 degrees Celsius.
Do I really have to use a cast iron potjie?
For the real thing, yes. The thick iron is what evens out the heat from an uneven bed of coals. A camp oven is the closest substitute, though it sits flat rather than on legs, so it needs coals raked around it rather than under it.
Why should I not stir a potjie?
Because the layers cook at different rates on purpose. The meat braises in liquid at the bottom while the vegetables above it steam and hold their shape. Stir it and everything ends up at the same texture.
What is the easiest meat for a first potjie?
Lamb neck. It is cheap, it is forgiving, and the connective tissue turns to silk over a long cook. Beef shin and chuck behave the same way. Save the expensive cuts for the grid.